
LAYERS
What if every digital design is actually a stack of transparent sheets, each carrying a different element — and you can move, hide, or change any sheet without touching the others?
CORE CONCEPT
IMPORTANCE OF LAYERS
KEY KNOWLEDGE
1
Layers = independent, stackable levels in a digital design, each carrying different elements

REAL WORLD EXAMPLE
Imagine a thick book where each page is a transparent sheet of plastic. Page one has a sky drawn on it. Page two has mountains. Page three has a tree. Page four has a person. When you stack them all on top of each other and look down, you see one beautiful complete picture. But each transparent sheet is still separate — you can pull any one out and change it without disturbing the others. That is exactly how layers work in digital design. Every modern design tool is built on this idea.
2
Each layer can be moved, edited, hidden, locked, or deleted without affecting other layers
REAL WORLD EXAMPLE
Layers give you total control. You can hide a layer to see what is underneath. You can lock a layer so you do not accidentally move it. You can delete a layer if you change your mind. You can drag it to a new position. None of these actions touch the other layers — they stay exactly as they were. This freedom to experiment without breaking anything is one of the greatest gifts of digital design. The eraser of pen-and-paper anxiety. The 'Undo' button on steroids.
3
Higher layers appear in front of lower layers — the stacking order determines what’s visible

REAL WORLD EXAMPLE
Stacking order matters. The layer at the top of the stack is what you see first — it covers everything beneath it. The bottom layer is the background. If you put text on the bottom layer and an image on top, the image hides the text. If you flip them, the text appears in front. Designers spend half their time dragging layers up and down to control what appears in front of what. It is like organising actors on a stage — who stands in front, who stands behind. The order changes the entire scene.
4
Layers enable non-destructive editing: you can change or remove any element without starting over

REAL WORLD EXAMPLE
Imagine you painted a beautiful watercolour and then accidentally splashed black paint on the corner. The whole painting is ruined — no way to remove that black spot. Now imagine you painted in layers. You could just delete the layer with the splash. The rest of the painting is untouched. That is what 'non-destructive editing' means. Layers give you a safety net so big that you can experiment wildly, knowing nothing you do is permanent. That confidence to try new things is where creativity blooms.
5
Opacity (transparency) of layers can be adjusted: a semi-transparent layer lets lower layers show through
REAL WORLD EXAMPLE
Every layer can be made more or less see-through. At 100 percent opacity, the layer is fully solid — it covers everything below. At 50 percent, it is half-transparent — you can faintly see through it. At 0 percent, it is invisible. This simple slider lets designers do magical things: blending two photos together, fading text into a background, layering colours softly. Opacity is one of the simplest tools in design — and one of the most powerful. A small slider that creates entire worlds.

6
Layers exist in: image editors, design tools, video editors (tracks), and even presentation software.
REAL WORLD EXAMPLE
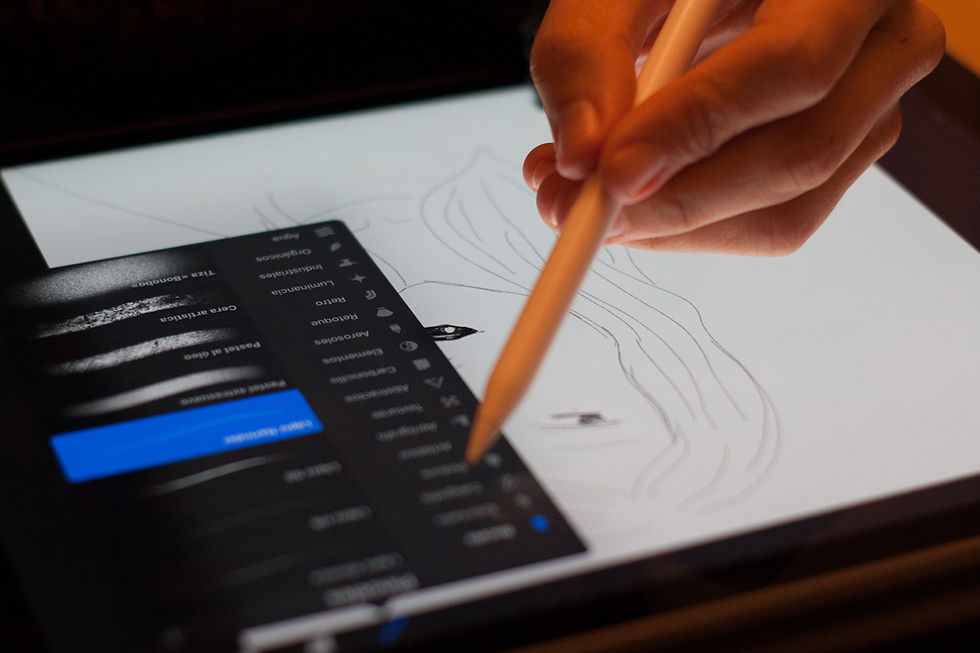
Once you understand layers, you start spotting them everywhere. Photoshop has layers. Canva has layers. Video editors call them 'tracks' but they work the same way — video on one track, music on another, text on a third. Even PowerPoint has layers (try clicking 'Send to Back' or 'Bring to Front'). Once you understand this one concept, you can intuitively use almost any creative software ever made. Layers are not a feature of one app. They are the secret language of all of them.

7
Grouping layers keeps related elements together (e.g., all text layers in one group, all image layers in another).

REAL WORLD EXAMPLE
When a design has 30 layers, things get messy. So designers 'group' related layers together — like putting your stationery in pencil cases instead of throwing it in your bag. All the text? In one group called 'Text'. All the images? In a group called 'Images'. Now the layer panel is tidy, you can move whole sections at once, and finding things is easy. Grouping is not a fancy feature — it is just basic tidiness. The same skill your mother insists on for your room, applied to design files.
8
What if understanding layers means understanding the core principle behind every creative software you'll ever use?

REAL WORLD EXAMPLE
Layers are the secret handshake of the entire design world. If you understand them deeply — really, truly understand the stacking, the opacity, the grouping, the non-destructive freedom — you can walk into any design app and figure it out within minutes. People who do not understand layers struggle with every new tool. People who do understand layers feel right at home everywhere. One concept, mastered well, unlocks dozens of tools. That is what powerful learning looks like.
Pro Connection
Designers organise files with named, grouped layers for team collaboration. When someone says “send me the layered file,” they need the editable version with all layers intact (not a flattened JPEG). Layer organisation is a basic professional standard.
PROFESSIONAL TERMINOLOGY
CLICK TO REVEAL and CLICK TO COVER
An independent level in a digital design that can be edited without affecting other layers
What is
LAYER
The stacking sequence of layers — layers on top appear in front of layers below
What is
LAYER ORDER
The transparency level of a layer — 100% is fully visible, 0% is invisible
What is
OPACITY
Making changes that can be undone or modified later — layers enable this by keeping elements separate
What is
NON-DESTRUCTIVE EDITING
Multiple layers organised together as a unit — can be moved and edited as one
What is
GROUP
Preventing a layer from being accidentally moved or edited
What is
LOCK
THE TOOL MAP
You're probably already a multi-category creative — you just haven't had a map to see the full territory of what you can already do.
what TO DO
List every creative tool or app you've ever used — phone camera, photo editor, Canva, iMovie, GarageBand, Google Slides, notes apps, anything counts.
Next to each tool, write its category: image editor, vector editor, layout tool, video editor, audio editor, 3D tool, or collaboration tool.
Identify which categories you're strongest in (you've used multiple tools there) and which you've never tried.
Choose one unexplored category and find a real, free tool that fits it — do a quick search if needed.
Optional: try creating something simple with that new tool this week.
what TO SUBMIT
Text | Your complete tool list with categories: '[Tool name] — [Category]' for each tool |
Text | 'My strongest category is [category] because [reason]. I have never tried [category]. One free tool I found for that category is [tool name] and it is used for [what it does].' |
1 Screenshot (optional) | Something you created with the new tool you explored |
CHALLENGE
DISCOVERY
You can use these SOFTWARES for this Discovery Challenge
FREE SOFTWARE : Canva, PicsArt, Sketchbook by Autodesk, Phone Screenshot
PAID SOFTWARE : Procreate Pocket, Adobe Express Premium